10 secrets of the perfect DIY manicure
 Updated: Dec. 15, 2016
There’s no one secret to a great DIY – there are 10! Before you set up another mani night, get up to speed on the cool tools and top tips you need
1. Foot masks
All the rage in Asia, sole-smoothing foot masks keep unsightly, scaly skin at bay, leaving you with spa-level results without the hefty bill. Try: Feet Treat Pedi by Look Beauty Intensive Moisturizing Foot Mask, $10
2. Seal the tips of nails
Extend the life of your manicure and prevent chipping by wrapping your polish (and basecoats and topcoats) around the edge of your nail. ‘Sealing the tips of your nails prevents water and oil from breaking the bond between your nail plate and the polish,’ says expert manicurist Wendy Rorong.
3. Restore nails with Formula X Sheer Strength Sheer Nail Color in Powerful
Fortified with strength-building keratin, golden bamboo to bond and seal, licorice extract to brighten and safflower seed oil to hydrate, this lightly hued treatment is pretty enough to wear on its own while it works to restore the health of your nails. Try: Formula X Sheer Strength Sheer Nail Color in Powerful, $16
4. UV cure
UV-curing polishes and basecoats and topcoats have gained major popularity because they serve up gel-like long wear and durability with zero special equipment required. ‘Natural or artificial light bonds the nail polish polymers to your nail, making it stronger and more resistant,’ says Rorong. ‘The curing action also speeds up the drying process, helping you avoid nicks and scuffs.’
5. Start with your dominant hand
‘If you’re a novice DIYer, start with painting your dominant hand first, which will actually ensure you get a less shaky start. Hold the brush in a comfortable position and try to keep your hand relaxed.’
6. Buff nails with Micro Nail
This fast-acting, battery-operated buffer comes with two rollers: one to smooth ridges and remove stains and another to buff nails to a high, natural shine. Use it as a quick fix for unmanicured nails or to prep your digits for a smooth polish application. Try: Micro Nail, $60
7. Get close
The key to getting a salonworthy finish is to get as up close and personal with your digits as possible, says Rorong. ‘Always lay your hand flat and close to your face so that you can zoom in, and be sure to avoid touching your cuticles or nail walls while painting.’ For best results, try laying your hand on a stack of books or magazines while sitting at your desk or dining table.
8. Use a topcoat like Sally Hansen 3D Gel Shine Top Coat
This finishing touch topcoat has it all: long wear, plumping texture and ultra-glossy shine. Plus, it’ll camouflage any nicks or less-than-perfect applications, so your tips look fresh from the salon, regardless of your painting skills. Try: Sally Hansen 3D Gel Shine Top Coat, $15
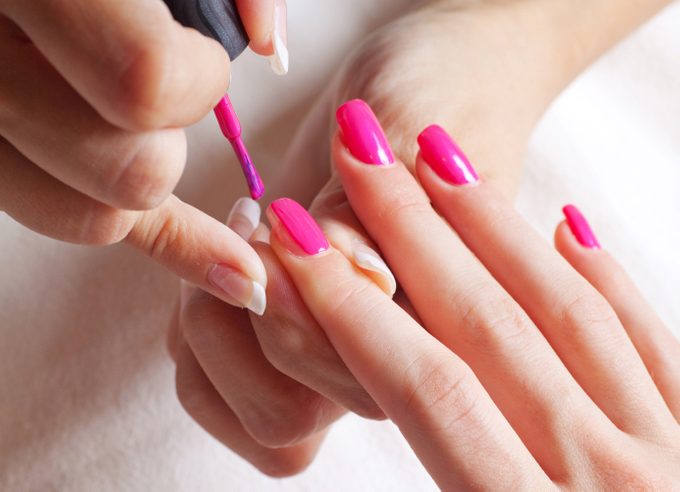
9. Start in the middle
Instead of trying to steadily place your brush right at the base of your nail without painting outside the lines, start by placing a drop of nail polish in the middle of your nail. ‘Very carefully push the polish toward your cuticle without touching it and then pull the brush toward your nail tip.’
10. Quick-dry to prevent smudges
Dry freshly polished fingers and toes in 60 seconds (less than the time it takes to find your keys) with instant dry drops. Try: Nicole by OPI Drying Drops, $11